Forging Iron: A Tutorial
The history of forging metals arose from Mesopotamia. Evidence of early metalworking has been seen as far back as 4500 B.C. The art of forging, or shaping metal using heat and pressure, continued to evolve well into the Dark Ages, when the production of weapons flourished.
In the 19th century, the invention of the steam engine brought us modern forging, as well as electrical power and explosive forming. Now, forging is a world-wide industry and a highly sought ability.
Forging iron is a skill and an art that utilizes an interesting, ancient process. Take a look at our iron forging tutorial to learn more about the process.
Iron Forging Tools
Iron forging basic supplies:
- A forge
- Tongs, vises or clamps
- An anvil
- A hammer
- A quenching bucket
Forge
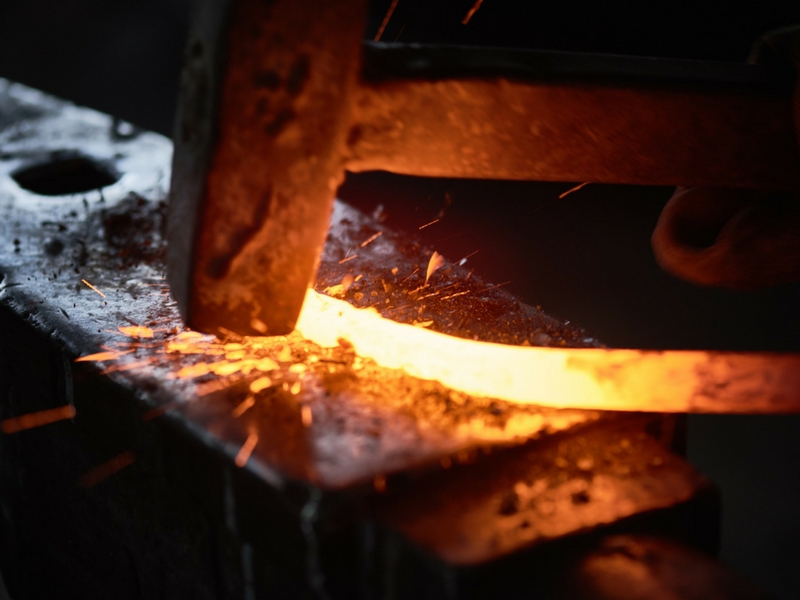
No matter what type of metal you intend to forge, it all starts with the forge itself. A forge uses fuel and air to heat metal and make it malleable. Forges come in many sizes and designs, and they can use coal, propane or other types of fuel for the heating process.
Professional smiths use forges that are designed for their specific work, but a forge doesn’t need to be fancy or big to work properly. For small projects, a small forge offers enough space to work the iron while also conserving energy and heating up quickly.
Most importantly, your forge needs to be able to reach the right temperature to soften the metal, but not hot enough to melt it. The appropriate temperature for forging iron is 2500 degrees Fahrenheit or 1371 degrees Celsius.
Tongs, Vises and Clamps
Forged metal is extremely hot, so you need a reliable tool to grip and shape it. The size and design of your tools may vary according to the project, but they should always be strong, easy to grip and capable of withstanding high temperatures.
Tongs are used to hold your metal piece while you mold and shape it. Depending on the project, a vise may be used to provide a stationary spot while you work. Finally, clamps are used to hold something flat and square and ensure it’s stable.
Anvil
A good anvil is a critical component of successful forging. Anvils have many features that can be used to shape your iron, such as a pritchel for punching holes, a hardy for making curvatures and a horn for curving larger pieces of metal. Anvils also provide stability for your project and give you a hardened tool to shape your metal around.
Hammers
There are many tools you can invest in if you intend to make forging a hobby or profession, but a quality hammer is a great place to start. Hammers come in many weights, shapes and sizes for different applications.
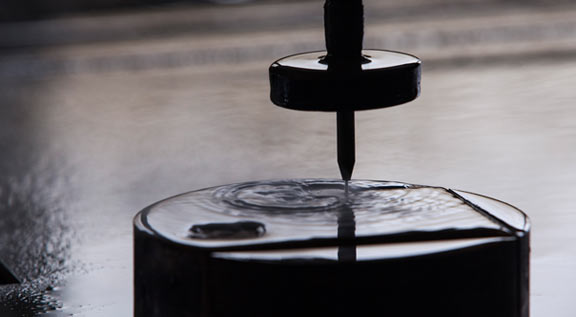
Quenching Bucket
A quenching bucket is used to cool the metal. Mineral oils are often used to harden the iron and control the heat transfer, as well as minimizing the formation of gradients that lead to warping or cracking. Quenching can also be done in water, but this carries risks of distortion and cracks from rapid cooling.
Shaping Iron
When iron is heated, it takes on a consistency that’s similar to clay, but it takes a little more effort to work it. This allows you to shape it as you desire, however, and the same principles for shaping clay work with iron. By applying force to different areas, you can achieve different shapes and effects.
There are several different techniques for shaping iron, but these three form the foundation:
- Drawing out: This is a technique that uses force to draw the metal out of itself, making it longer or thinner.
- Upsetting: This technique uses force applied to the end of the piece to add volume or width.
- Peening: This technique uses force to move metal in a specific direction. There are many types of peens that can be applied to create different effects.
Drawing Out
First, get a square piece of stock to temperature. Then, using a flat, heavy hammer and the edge of the anvil, slowly work the iron to draw out a fine nail point. Continue to draw out the iron until you achieve the look you desire.
If the iron gets cold, reheat it. Sometimes iron needs to be heated multiple times to give you the working time you need for the shape you’re going for. Working with cooling or cold metal not only wastes your effort, but it can also create a weak spot in your work where the hot and cold pieces come together.
Upsetting
Upsetting adds volume to the end of your piece. For this technique, it’s best to start with a cylindrical piece that’s easy to control.
The basic idea is to decrease the length of your piece in order to increase the diameter of the material at one end. This can be done using its own weight, or the edge of the anvil, and small hits of the hammer to the end intended to be mushroomed out. Slowly, you’ll begin to see it take shape.
Peening
Peening uses force to spread the ends of a metal piece in a certain direction. For this technique, a ball-peen hammer can be used to move the metal, which can then be smoothed by the flat face of a normal hammer.
Like upsetting, it’s best to work slowly and use smaller hits when peening. This gives you greater control over the process and ensures you’re achieving the effect you desire.
Learn More at AR Iron
As you can see from this iron forging tutorial, a lot goes into this process to create elaborate, decorative iron pieces that are strong and built to last. It’s all worth it in the end, however, when you have a piece that’s been patiently shaped and molded by your own two hands.
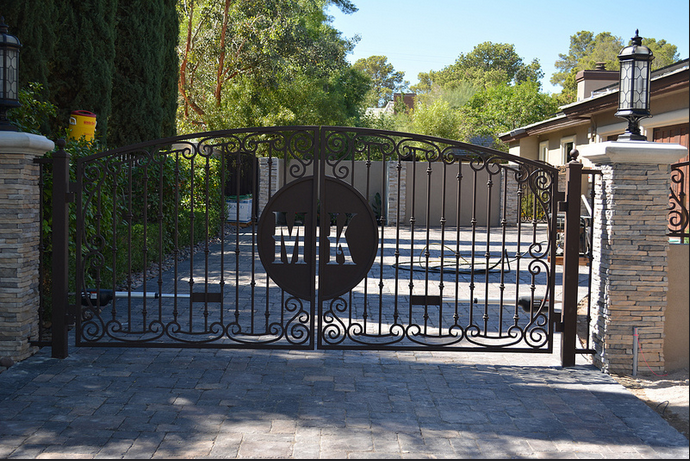
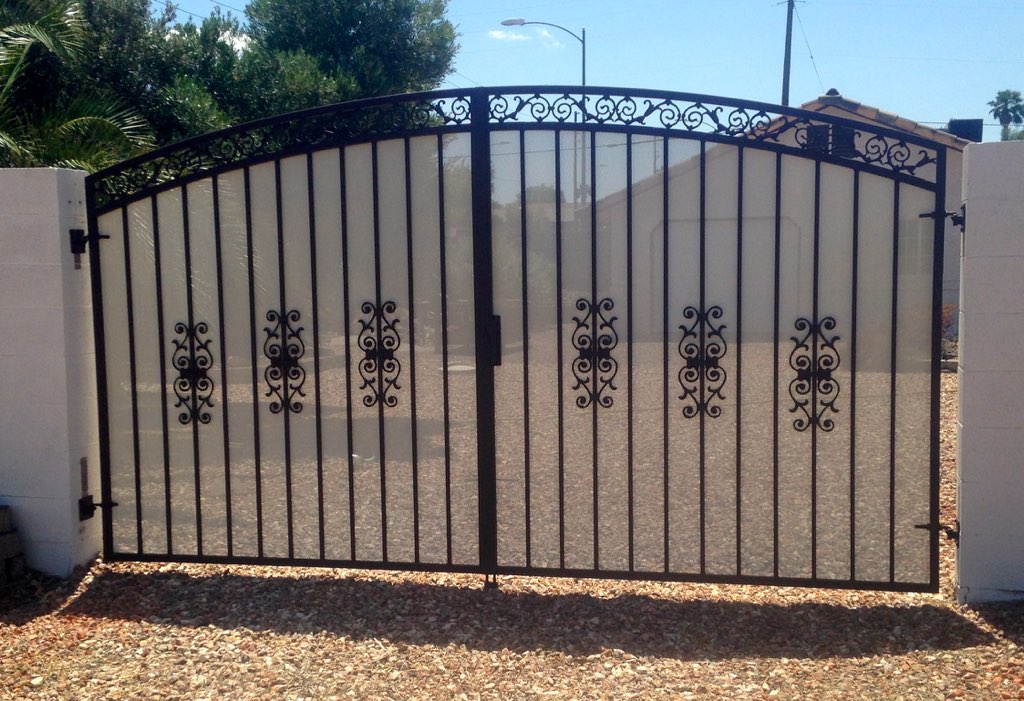
At AR Iron, we’ve been fabricating ornamental iron gates, fencing, staircases, entryways and other decorative elements for the home and landscape for 25 years, so we understand all that goes into this ancient skill. If you’re considering a wrought iron structure for your home, contact us today to request a quote and see what we can do for you!
